Team:UC Chile2/Arduino
From 2012.igem.org
(Difference between revisions)
| (62 intermediate revisions not shown) | |||
| Line 1: | Line 1: | ||
{{UC_Chile4}} | {{UC_Chile4}} | ||
| - | |||
| - | So we built our own light sensing system using Arduino microcontroller. We got the idea from iGEM 2010 Cambridge team. The sensor used was model TSL238T. | + | <h2>Building the sensor</h2> |
| + | |||
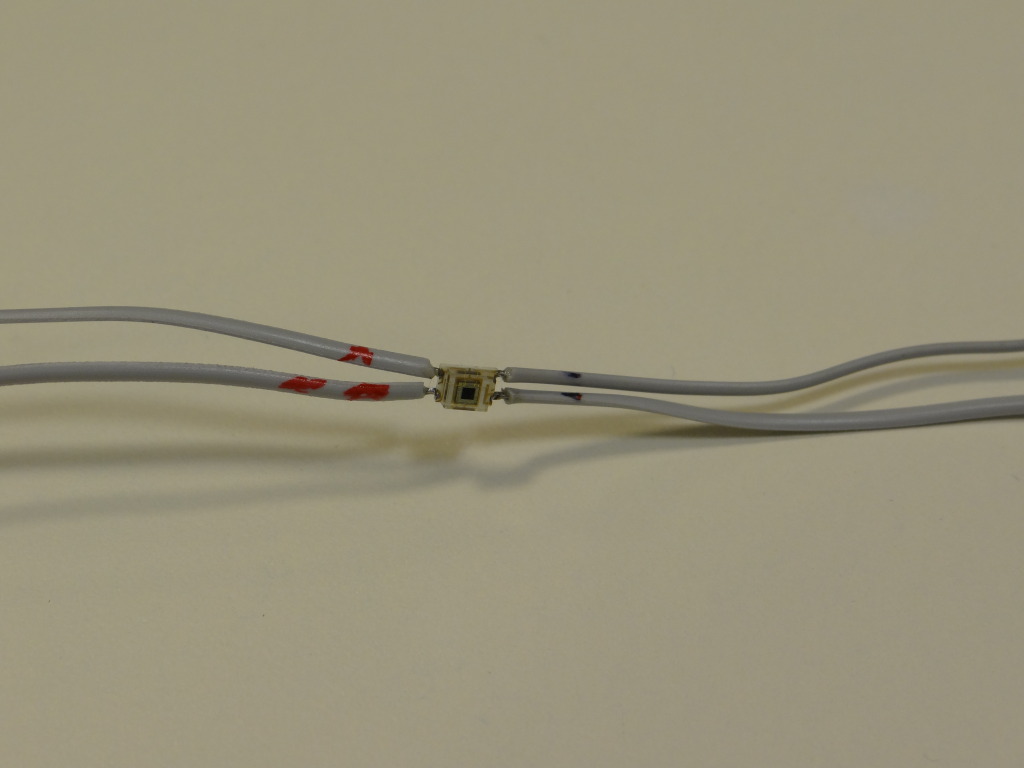
| + | So we built our own light sensing system using Arduino microcontroller. We got the idea from iGEM 2010 Cambridge team. The sensor used was model TSL238T. Product developed by Texas Advanced Optoelectronic Solutions.<br> | ||
| + | |||
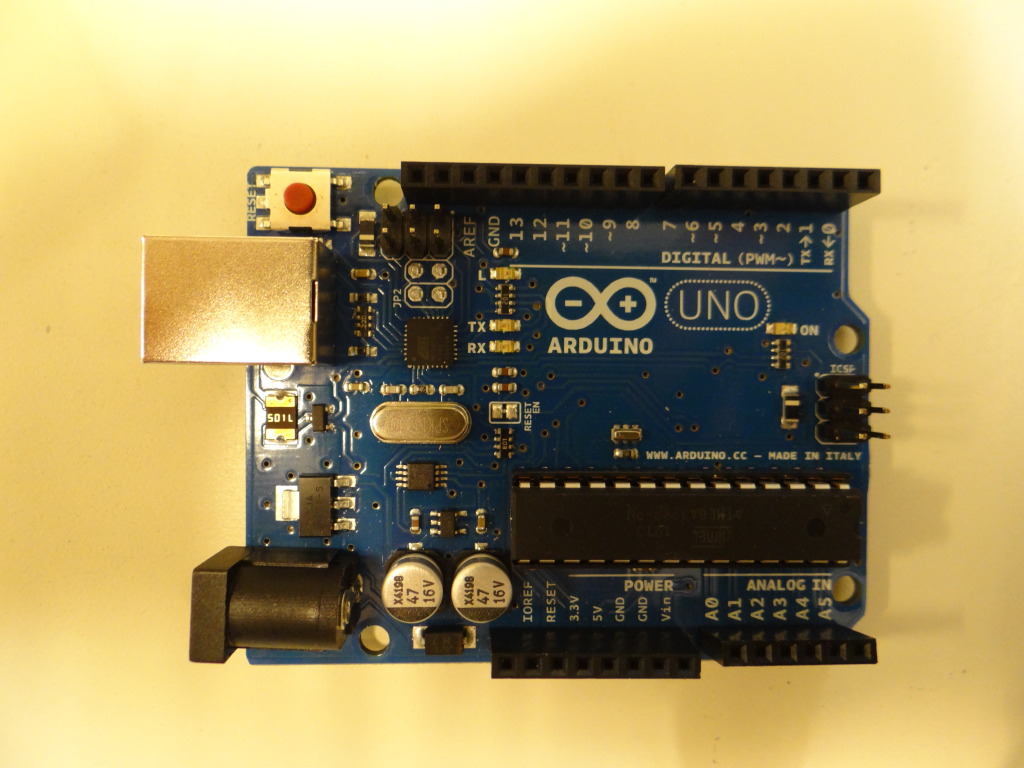
| + | So.... what do you need?? Basically the following | ||
| + | |||
| + | - Arduino Uno <b>USD$25.95</b> <span style="padding-left:300px">- TSL238T High-sensitivity light-to-frequency converter. <b>USD$5.80</b><br></span> | ||
| + | [[File:arduinouno_uc_chile.jpg|300px]] | ||
| + | <span style="padding-left:150px">[[File:arduinosensor_uc_chile.jpg|300px]]</span> | ||
| + | |||
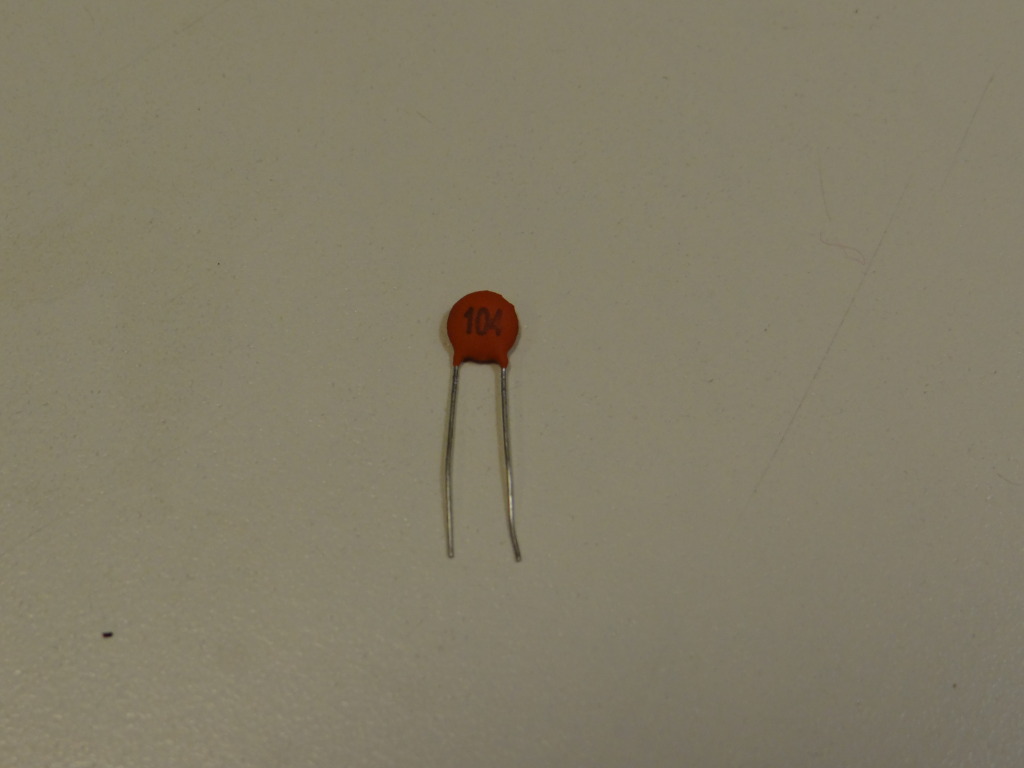
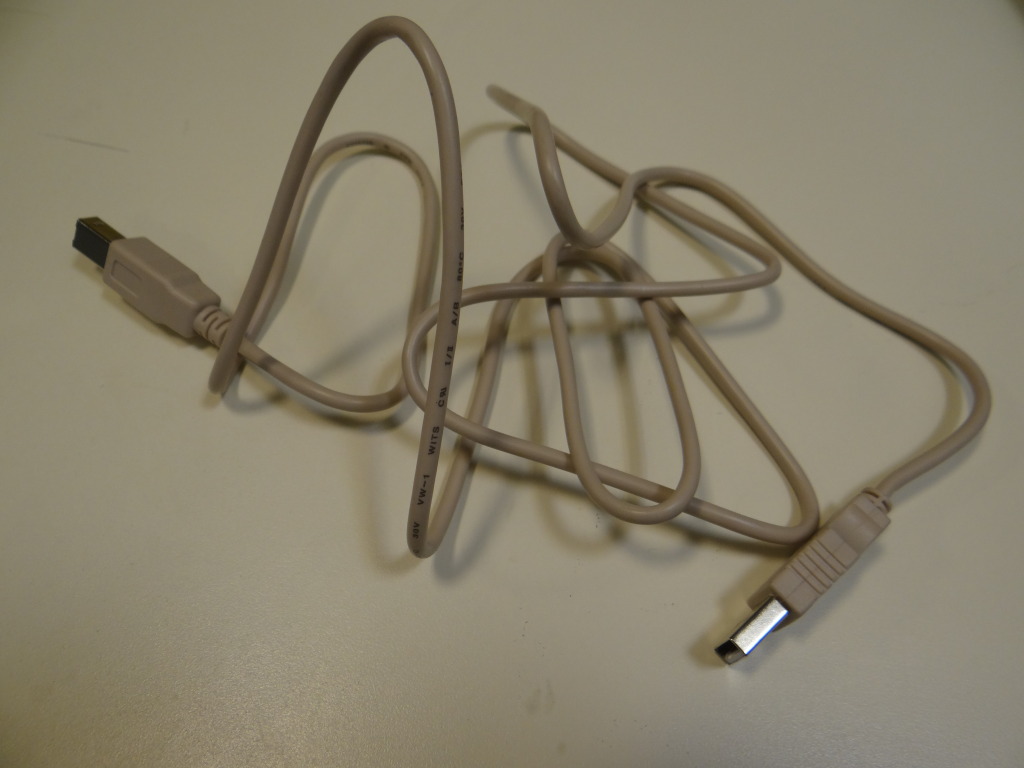
| + | - 0.1 uF capacitor <b>USD$9.70</b> (cost of a pack containing many capacitors)<span style="padding-left:48px">- USB Cable <b>USD$4.37</b><br> | ||
| + | </span> | ||
| + | |||
| + | [[File:arduinocapacitor_uc_chile.jpg|300px]] | ||
| + | <span style="padding-left:150px">[[File:arduinousb_uc_chile.jpg|300px]] | ||
| + | |||
| + | |||
| + | |||
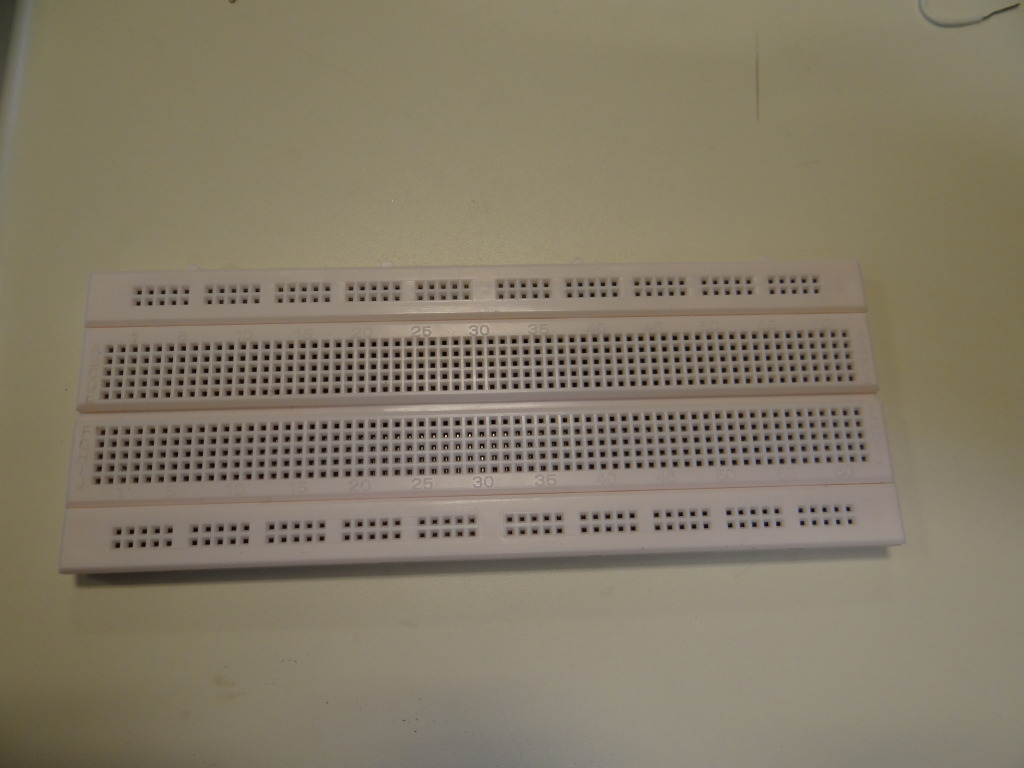
| + | - Breadboard <b>USD$14.80</b><span style="padding-left:313px">- Lots of wires <b>USD$2.95</b><br></span> | ||
| + | [[File:arduinoboard_uc_chile.jpg|300px]] | ||
| + | <span style="padding-left:150px">[[File:arduinowires_uc_chile.jpg|300px]]</span> | ||
| + | |||
| + | |||
| + | <font color="red">Total cost: <b>USD$63.70</b></font> not so bad, right? | ||
| + | |||
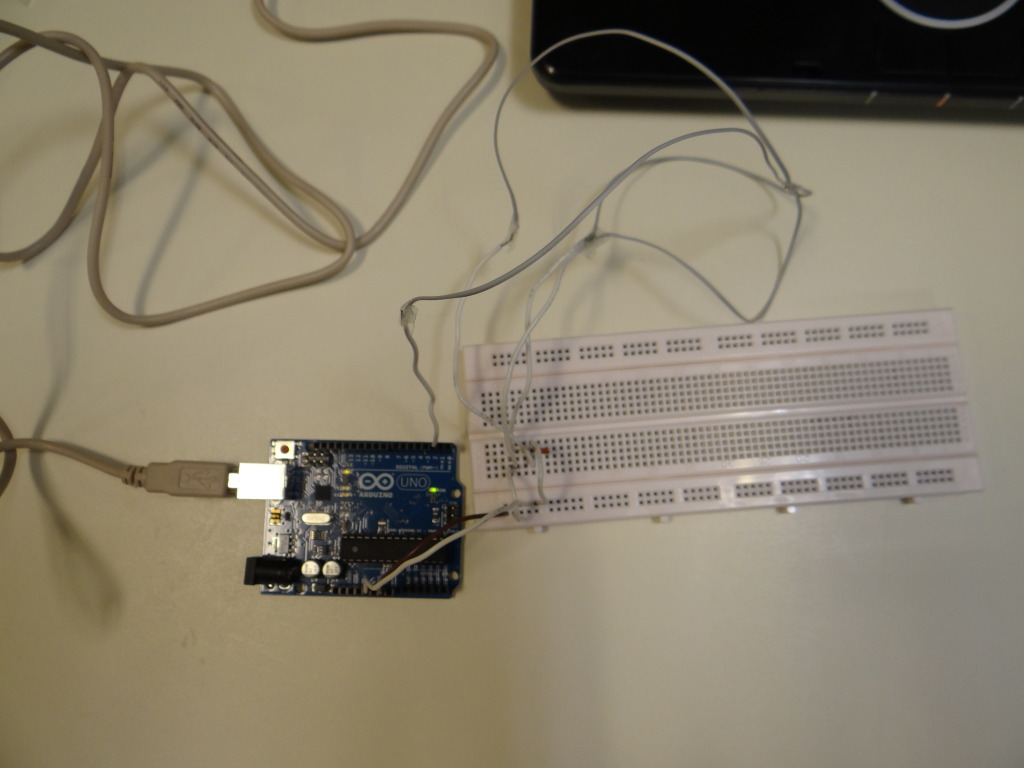
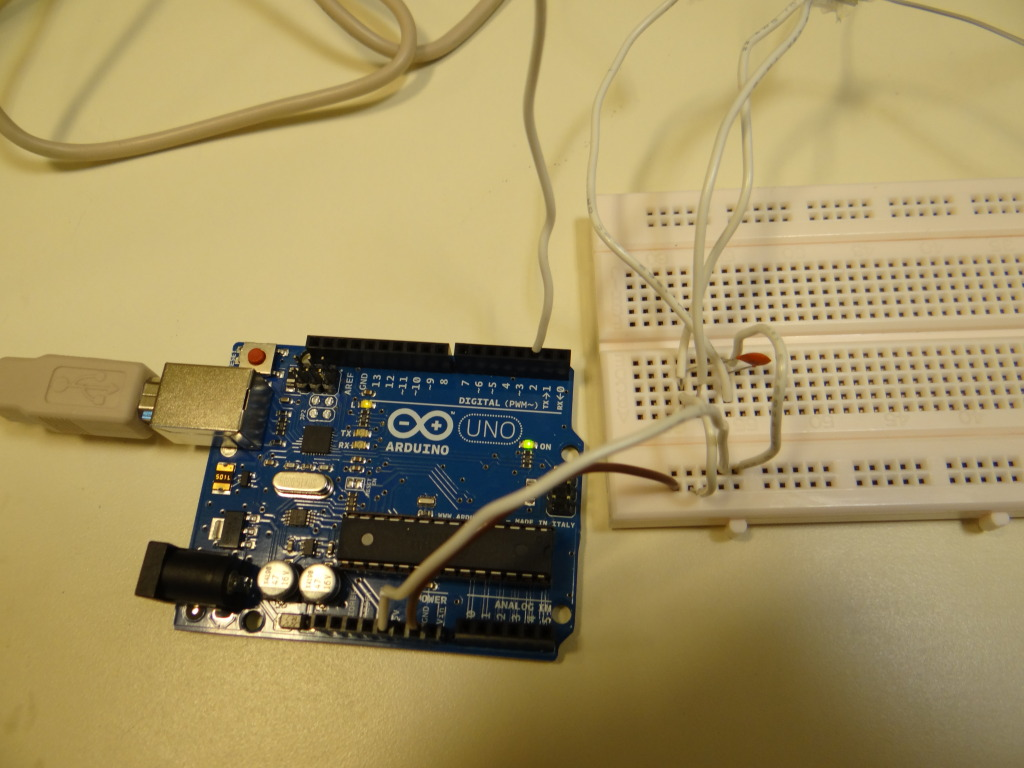
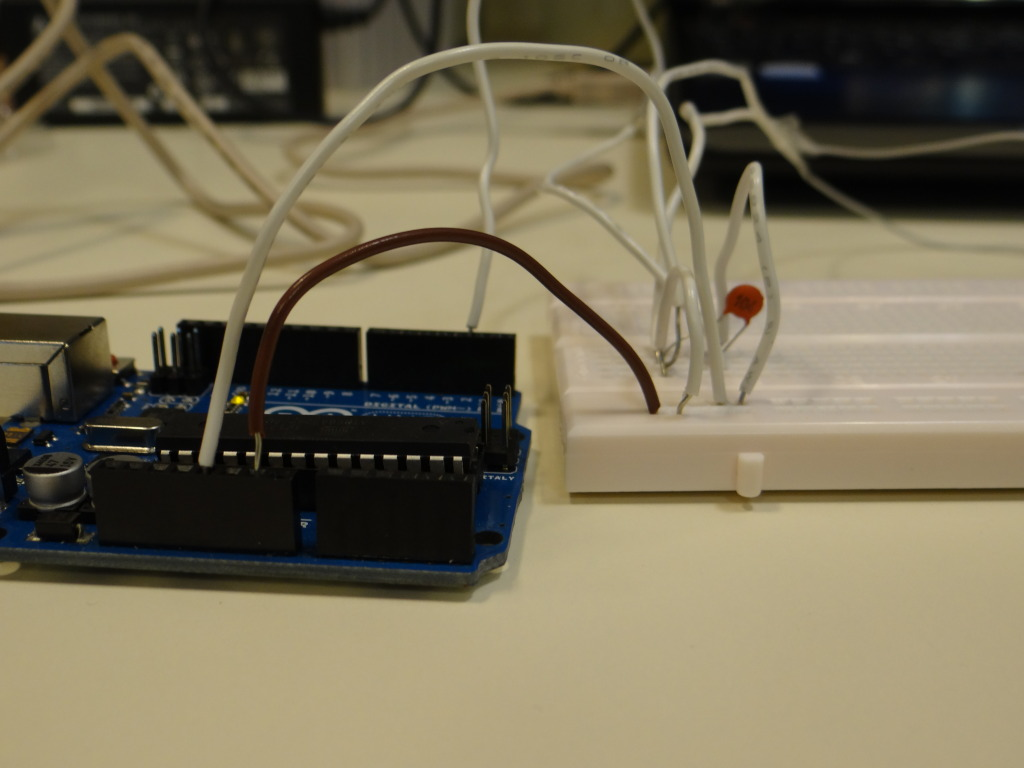
| + | Now that you built your sensor according to instructions provided in code below, it should look something like this: | ||
| + | |||
| + | [[File:arduinofinal1_uc_chile.jpg|300px]] | ||
| + | <span style="padding-left:30px">[[File:arduinofinal2_uc_chile.jpg|300px]] | ||
| + | <span style="padding-left:30px">[[File:arduinofinal3_uc_chile.jpg|300px]] | ||
| + | |||
| + | |||
| + | |||
| + | <h2>Running the program</h2> | ||
| + | |||
| + | <html> | ||
| + | Here is the <a href="https://static.igem.org/mediawiki/2012/8/87/Datasheet.pdf" target="_blank">sensor datasheet</a> containing all technical specifications.</html> | ||
Our code. Written by Juano Venegas. | Our code. Written by Juano Venegas. | ||
| Line 13: | Line 48: | ||
// Pin 1 -> Ground | // Pin 1 -> Ground | ||
// Pin 2 -> Ground | // Pin 2 -> Ground | ||
| - | // Pin 3 -> 5 Volts. | + | // Pin 3 -> 5 Volts. |
// Pin 4 -> Pin n° 2 Arduino. | // Pin 4 -> Pin n° 2 Arduino. | ||
| - | //Also, a 0.1 uF capacitor would be suitable to wire between ground and 5V. The closest possible to the sensor (it reduces noise). | + | //Also, a 0.1 uF capacitor would be suitable to wire between ground and 5V. The closest possible to the sensor |
| + | //(it reduces noise). | ||
// Instructions down below | // Instructions down below | ||
| Line 42: | Line 78: | ||
// Instructions: | // Instructions: | ||
// First, run this program. Data should be sent to Arduino's terminal. Arduino (Tools > Serial Monitor). | // First, run this program. Data should be sent to Arduino's terminal. Arduino (Tools > Serial Monitor). | ||
| - | // If it works ok, it should give data every half second (it will show as text in the format i1234f, meaning a 1234 value). | + | // If it works ok, it should give data every half second (it will show as text in the format i1234f, |
| - | // Check values given at absolute darkness and absolute lighting conditions. Write them down and add a bit of margin to the number and replace them in LINE B. | + | //meaning a 1234 value). |
| + | // Check values given at absolute darkness and absolute lighting conditions. Write them down and add | ||
| + | //a bit of margin to the number and replace them in LINE B. | ||
// Now, comment LINE A and uncomment LINE B. Run the program again. | // Now, comment LINE A and uncomment LINE B. Run the program again. | ||
// Now it should give values between 0 and 1023. Values are proportional to the intensity of the light source. | // Now it should give values between 0 and 1023. Values are proportional to the intensity of the light source. | ||
| Line 49: | Line 87: | ||
Serial.print(pulseCount); // LINE A | Serial.print(pulseCount); // LINE A | ||
| - | //Serial.print(map(pulseCount, | + | //Serial.print(map(pulseCount, here_darkeness_value_number , here_light_value_number, 0, 1203)); // LINE B |
Serial.println("f"); | Serial.println("f"); | ||
| Line 59: | Line 97: | ||
pulseCount++; // Increase pulse count | pulseCount++; // Increase pulse count | ||
}</pre> | }</pre> | ||
| + | <html> | ||
| + | Here is a <a href="https://vimeo.com/49979564" target="_blank">short video</a> on the serial monitor collecting data. The numbers are in relative light intensity units. We measured the lab at normal lighting conditions.</html> | ||
| + | |||
| + | <h2>Data collected</h2> | ||
| + | |||
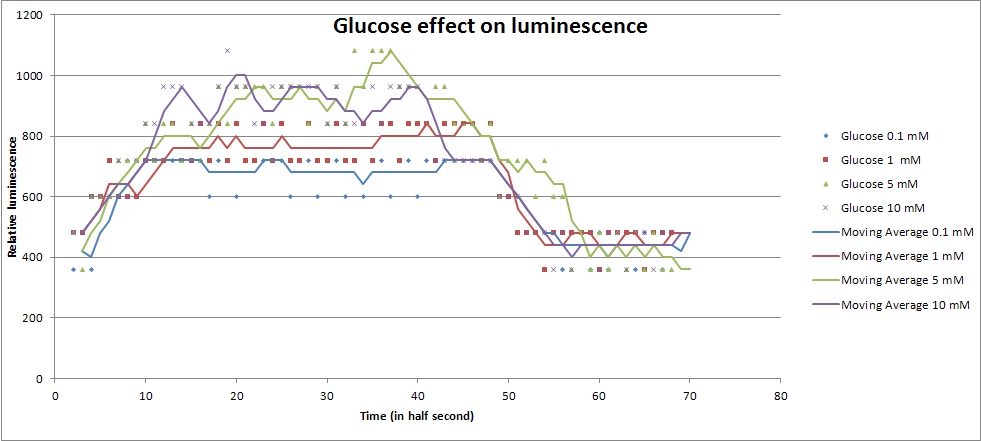
| + | We decided to characterize lux brick using our sensor. We measure the light intensity of lux brick at different glucose concentrations. Here is a graph of our results. | ||
| + | |||
| + | |||
| + | |||
| + | [[File:dataarduino_uc_chile.jpg|800px]] | ||
| + | |||
| + | |||
| + | |||
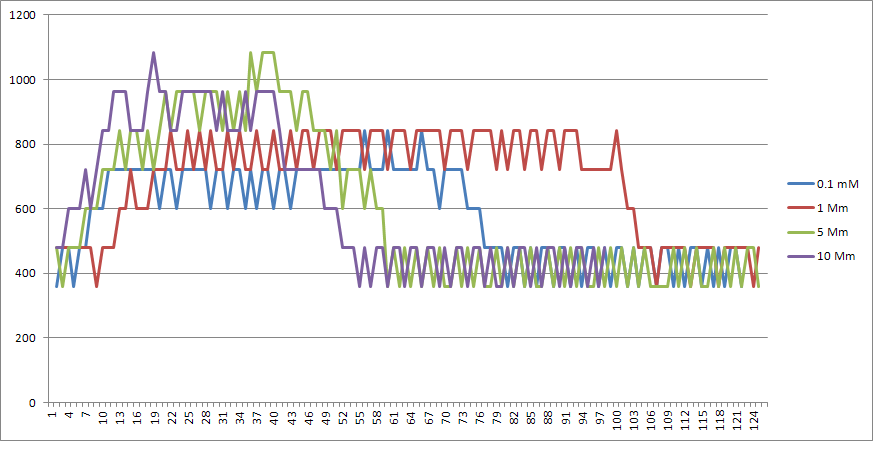
| + | The measurements obtained by the sensor indicate that at higher glucose concentrations the biolumiscence of the cells decreases. However, experimental data obtained by plate reader is contradictory. (<html><a href="https://2012.igem.org/Team:UC_Chile2/Characterization#Glucose_concentration" target"_blank">Check here for data</a>) We believe that the sensor was not sensitive enough to measure light intensity differences between the flasks. Also there was a lot of noise in the measurement as you can see in this rough graph of the data.</html> | ||
| + | |||
| + | |||
| + | |||
| + | [[File:dataarduino2_uc_chile.jpg|800px]] | ||
| + | |||
| - | + | {{UC_Chilefooter}} | |
Latest revision as of 23:03, 24 September 2012
 "
"

