Team:UC Chile2/Fun protocols
From 2012.igem.org
Protocol for the creation of a competent interdisciplinary team
Assembling a decent team in a restricted timespan can be somewhere between difficult to a completely impossible task. Not everyone has enough time to dress up in black leather, get an eye patch and go to the best of the best students saying I’m here to talk you you about the Avengers initative iGEM competition. That’s why we’ve gathered (all out of painful personal experience) some tips and tricks we’d like to share with you about getting together a group of amazing people and then turning them into heroes a team.
- First of all, you need the people. Gather about 10 or 12 interested younglings, the more dissimilar their majors, the better. Good strategies for finding such rare species include: posters all over campus, introductory talks on synthetic biology or iGEM, and flash courses during summer or spring break.
- Once you’ve gathered the group and actually managed to get all the members together somewhere, skip all awkward introductions such as “hi, my name is… I’m … years old and my major is ….” and get right to the really important questions: Who’s your favorite starter Pokemon? Which Harry Potter house suits you best? Why didn’t Gandalf just destroy the goddamn ring himself?
These questions constitute an awesome icebreaker, and actually contribute to the group’s first attempt at getting to know each other. Pushing them out of their comfort zone will catalyze interactions and they’ll probably get a good laugh together much faster than they would have during a normal introduction.
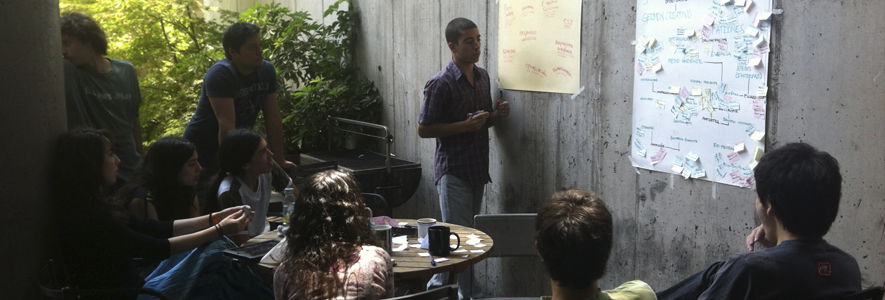
- Get a psychologist. Ask him/her to settle a focus group for you. He’ll be in charge of supporting and guiding you through this awkward stage. Tell each other why you are in the team; what you’d like to do, what you’d like to create. And then, write it. Write everything. And once you’re all set, write your group objective (one or two phrases should be enough). This objective should summon up everything you’d like to get out of this work experience. You want to build a better resume? Cool. Want to change your country’s vision on synthetic biology? Awesome. Want to take that giant lego trophy home? Of course you do. Now get those objectives down.
- Now you, as the group leader, should talk about each person in the team. If there was a selection process the members of the team had to undergo in order to win their places, tell them why they made the cut. What special capacity or talent got them there. And with that said, write a personal objective for each member. This will be incredibly motivating for everyone. Not only does it help each member feel that they’re an important addition to the group, it also helps them focus in their particular capacities. This is even more important in a multidisciplinary group, because everyone has a certain area of expertise they can develop and teach others about. More on that later.
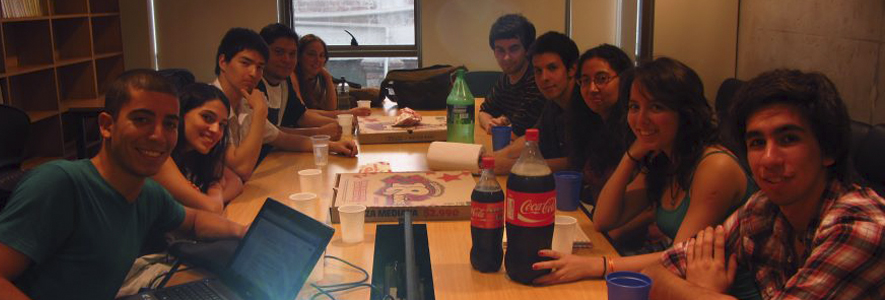
- After your exhausting therapy session, go grab a bee-coffe. Or ice-cream. We went for ice-cream. Seriously. I mean, who doesn’t bond over b-ice-cream? Point to take: Don’t limit your group experience to labwork. If you only see your teammates during stressful, early-in-the-morning hours, you’ll end up associating them with that disgusting no-sleep feeling you should only get on midterms and finals. Try to party together a few times, bond both socially and intellectually. You’ll feel much more comfortable working with them if you can all share a laugh and talk about things other than bacteria for at least 10 minutes a day (no, fungus don’t count).
- Communicate. Get yourselves a facebook group, a twitter account, something that ensures all the team will get important information such as meetings, interesting papers, and etcetera.
- Charge a small (really small) fee and establish a coffee budget. When everyone’s falling asleep, or you simply can’t read more protocols, flee en masse and enjoy a nice cup of hot coffee/tea/chocolate/whatever/but not the bacteria/or yeast/really, don’t. Conversation, jokes and general awesomeness will ensue.
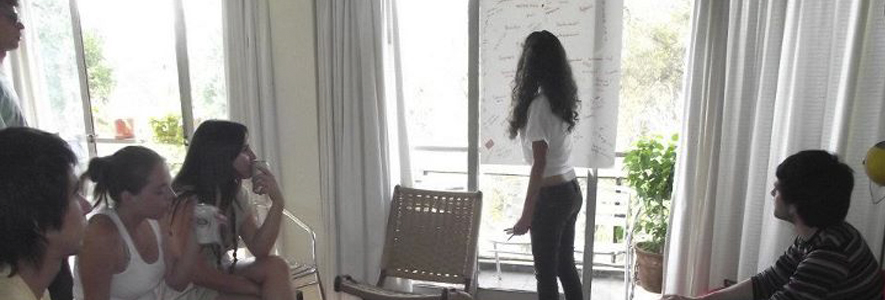
- If you’re working during vacations (as we did), at some point your group’s morale will hit an all-time low. Maybe your last experiment didn’t go that well. Maybe someone lost the lab notebook. Maybe you’ve been working for almost a month and you still don’t have a project. Here’s a good idea to cope with that: break the routine. Partying inside the lab could be the extreme version of this; what we did (and I strongly advice to do this) was changing a workday into a hang-out day. Instead of going to the lab, one of us offered his house and we all went there for a late breakfast. After insidious amounts of food, ideas started pouring out of us like pus from an infected wound. Uh, gross. But really. Breaking the routine is one of the most basic pieces of advice anyone related to creative-working would give you, though we scientists/engineers tend to ignore it.
- Work apart. You can’t expect everyone in the team to be in the lab 24/7, even less if you’re still on the first stages of bibliographic research. You don’t need to be all together to read a paper, you can give three or four days so that each member can read it whenever they have the time (remember they are students too, full of other responsibilities!) and then regroup to talk about it. And if time/location is a common problem, try the internet. Skype and G+ hangouts can be really good tools if they are used well.
- Divide to conquer. Make smaller groups. Give them specific tasks. If work is left to be done by anyone, it will surely end up being done by nobody. Establish ranks if necessary. Get yourself a manager (engineers are particularly good at this, and they tend to be quite a handful if they’re not fully occupied!)
- Put special capacities to good use. Not everyone has to do everything. If one of your engineers is also an artist, then perfect, have him design your logo. If your chemist is an emerging musician, ask him to write a song (we all know some teams have composed seriously amazing songs in the past years). Remember, you have a group made of entirely different people with entire different abilities. No one would make Hawkeye break a wall when you have Hulk. Or leave Iron Man hanging and order Captain America to hack into the penthagon. Poor Steve, I wouldn’t even let him alone with a microwave.
In short? You are all different people working towards the same objective. You all have different ways of working, thinking and behaving. Respect each other’s ways but be mature enough to adapt when you’re getting left behind. Don’t be afraid to speak up, and always ask for the tasks where you expect yourself to be the best at. And learn as much as you possibly can. About synthbio, about working in teams, about your partners. And march together towards victory! iGEM-ers Assemble!
Protocol to get rid of laboratory gremlins
1. Creep into the lab as still as you can, scalpel in hand. You'll probably find the Gremlin(s) feasting themselves upon E. coli, messing (decalibrating) with your micropipettes and eating your minipreped DNA from the centrifuge. If he is doing the last, stealthily turn on the centrifuge. The Gremlin will spin as though he is on a sadistic carnival ride, his tiny legs aflutter, his head and torso will puree, shooting bits of flesh and squirts of greenish blood all over your paneled laboratory cupboards.
2. This will attract the attention of other Gremlins. They won’t necessarily be angry about the death of a brother, as they seemingly place little value on life. They are angry by nature. Deflect the plates that the Gremlin is UFOing at your head with a common phitatray. Using a stabbing technique popularized by Norman Bates, attack the creature. Three jabs to the Gremlin’s chest cavity should do the trick.
3. A steady mace-like mist of bethamercaptoethanol will disorient a Gremlin. Should this Gremlin be fortuitously standing in the microwave oven, slam the door, and set the timer for about as long as you would for your one week old LB media. It will only take about 3 seconds for the Gremlin to combust.
4. The freeze chamber is a known hiding spot for Gremlins. And the frost-covered creature will use it as a weapon, lowering the temperature beyond your body’s limit once he’s trapped you inside. At this point, it is good to have a crime-fighting lab partner, who can charge the beast with a buret or maybe a better weapon of choice. The common Gremlin can be decapitated with one swing of a buret, mainly because the glass tends to cut through their throats. It is an unwelcome sight, the half-cut dangling head of a frozen Gremlin. It does make a good addition to the lab’s décor though, because who doesn’t love a bobbing head, even if it’s a Gremlin?
5. It is not unusual for Gremlins to turn on their own. A failed PCR always stirs old resentments; a Gremlin could shoot another Gremlin in the face.
6. Gremlins are notorious party animals. One lively creature is bound to want to swing from the ceiling fan, jubilant with the mix of ethanol, LB and the opportunity to just let his hair down. Crank up the speed of the fan and send the Gremlin sailing through the door and into the autoclave. Follow normal sterilization procedure.
7. With a little luck, the one remaining goody-good Mogwai will rev up a Barbie car and come to your rescue. You’ve been shot in the arm with a scalpel and now the leader of the Gremlins has turned a Bunsen burner / ethanol reservoir hybrid in your direction. The aforementioned Mogwai will be able to open a giant skylight, scorching the last of the Gremlins just seconds before he dove into a fountain, intent on, again, multiplying. Modified from http://christalawler.com/2010/06/05/bits-how-to-kill-a-gremlin-as-seen-in-gremlins/
The not-so-secret diary of a protein modeler
So you think you have what it takes to get into protein modeling? You do? Wow. That’s the spirit. Here are some tips you might find useful. If you have done some modeling before, then this is probably useless for you. If, au contraire, this is the first time you’ve faced a challenge like this and you’re about to freak out, this should be perfect for you. Hope it helps!
- First of all, find someone who knows something about protein modeling. If your team is anything like ours, I’m pretty certain you don’t have a protein engineer among you. If you do, I’m slow clapping in my seat right now for you guys. Really. Of course this sounds obvious, but really. We’ve all tried at least one time in our lives to be the cool guy/girl and go all chill guys I got this. THIS IS NOT THE TIME TO DO THAT. You’re working against the clock, and protein modeling takes a huge amount of time. Don’t waste it by trying to appear cool or reinventing the wheel!
- Assign the modeling task to people who are really interested in it, and will also have enough time to devote to it. In our case, we were only two people, a chemist and an engineer, and both our schedules were a bit too tight to fit modeling right. That’s why we had multiple difficulties through the way, and almost all of them were due to the little free time we had to dedicate to modeling.
- Get a decent computer. As you may know, proper computer modeling requires some minimum settings, say, an i5 or i7 at least. This of course depends on what you want to do, but for instance we needed an *INSERT CORE NUMBER HERE* for modeling the protein’s dynamics.
- Download some software! We used Pymol and VMD; VMD for modeling and Pymol for visualizing. You can download both for free with a proper student/investigator license. Of course there are other nice options, but since these are the ones I’m most familiar with, everything will be referred to them. Though if you want to model something else entirely (perhaps a complete circuit, or some metabolic pathways?) I highly recommend the Systems Biology Workbench. This too is downloadable for free in their official website.
- DON’T PANIC. And carry a towel. Especially if you’re working on summer. Whole afternoons in front of the computer require lots of water, a fan, a towel of course, and maybe tea; actually, anything that may help you avoid a migraine. Especially on Thursdays. I never could get the hang of Thursdays.
- Decide your base molecule. I’m guessing you have your protein in mind already, because if you don’t, well… hurry up man. Clock’s ticking. You got it? Cool. Now go look for it at the Protein Database. If you’re lucky enough, PDB should have the crystalized form of your protein ready to use. If it’s not there, try a second best, according to similarity. There are various tools you could use for this, for example BLAST, ClustalW, Modeller and Bosque, among others.
- Check the PDB format. Since this is what you’ll be working with, I strongly advise you to get to know it well. Here’s a rough approximation of what you’ll find in a .pdb:
1. (Row n°1) Atom 2. Atom number 3. Atom type 4. To which residue of which amino acid does it belong 5. Number of said amino acid 6. X coordinate 7. Y coordinate 8. Z coordinate 9. Electrostatic activity coefficient 10. Electrostatic activity coefficient
- Open your .pdb file in VMD. You should be able to see the protein’s representation. VMD lets you change said representation the same way Pymol does: there’s a cartoon option, ribbons, dots, etcetera. Note you can erase unnecessary chains directly in the pdb file by simply erasing the corresponding series of atoms (yes, that’s why you had to see what was in the pdb thing first!).
- Some basic (default) VMD symbology you may find useful: Red stands for negative zones, blue for positive, green for polar and white for nonpolar.
- At this point you may find you actually should have learned all the amino acids’ names and structures by memory and not by using that cheat sheet you hid in your pencil when you were a freshman. Never fear. Google an amino acid symbology table and paste it in front of your desk. Also, I won’t tell your Dean. You’re welcome.
- Now that you’re all set, you should define a modeling question. What do you want to do? What do you want to model, and why? Do you want to change something? Understand something? Define your question carefully and let it guide your work; every time you find yourself asking “what should I do”, retort to your question and use it as a darn beacon.
- Beacon, not bacon. How do you use a question as bacon, seriously? Please teach me.
- This is perhaps the second most important thing to do, and maybe the only thing that makes this tutorial worth it. Define a work outline based on these steps:
o Molecule’s global structure o Quantitative difference between the molecule of interest and the one used as second best, if that’s the case o Location of the segment of interest within the macromolecule o Analysis and modeling of said segment, taking into account the quantitative differences established previously.
Of course these are only guidelines, we don’t have any foolproof modeling formula… yet.
 "
"


